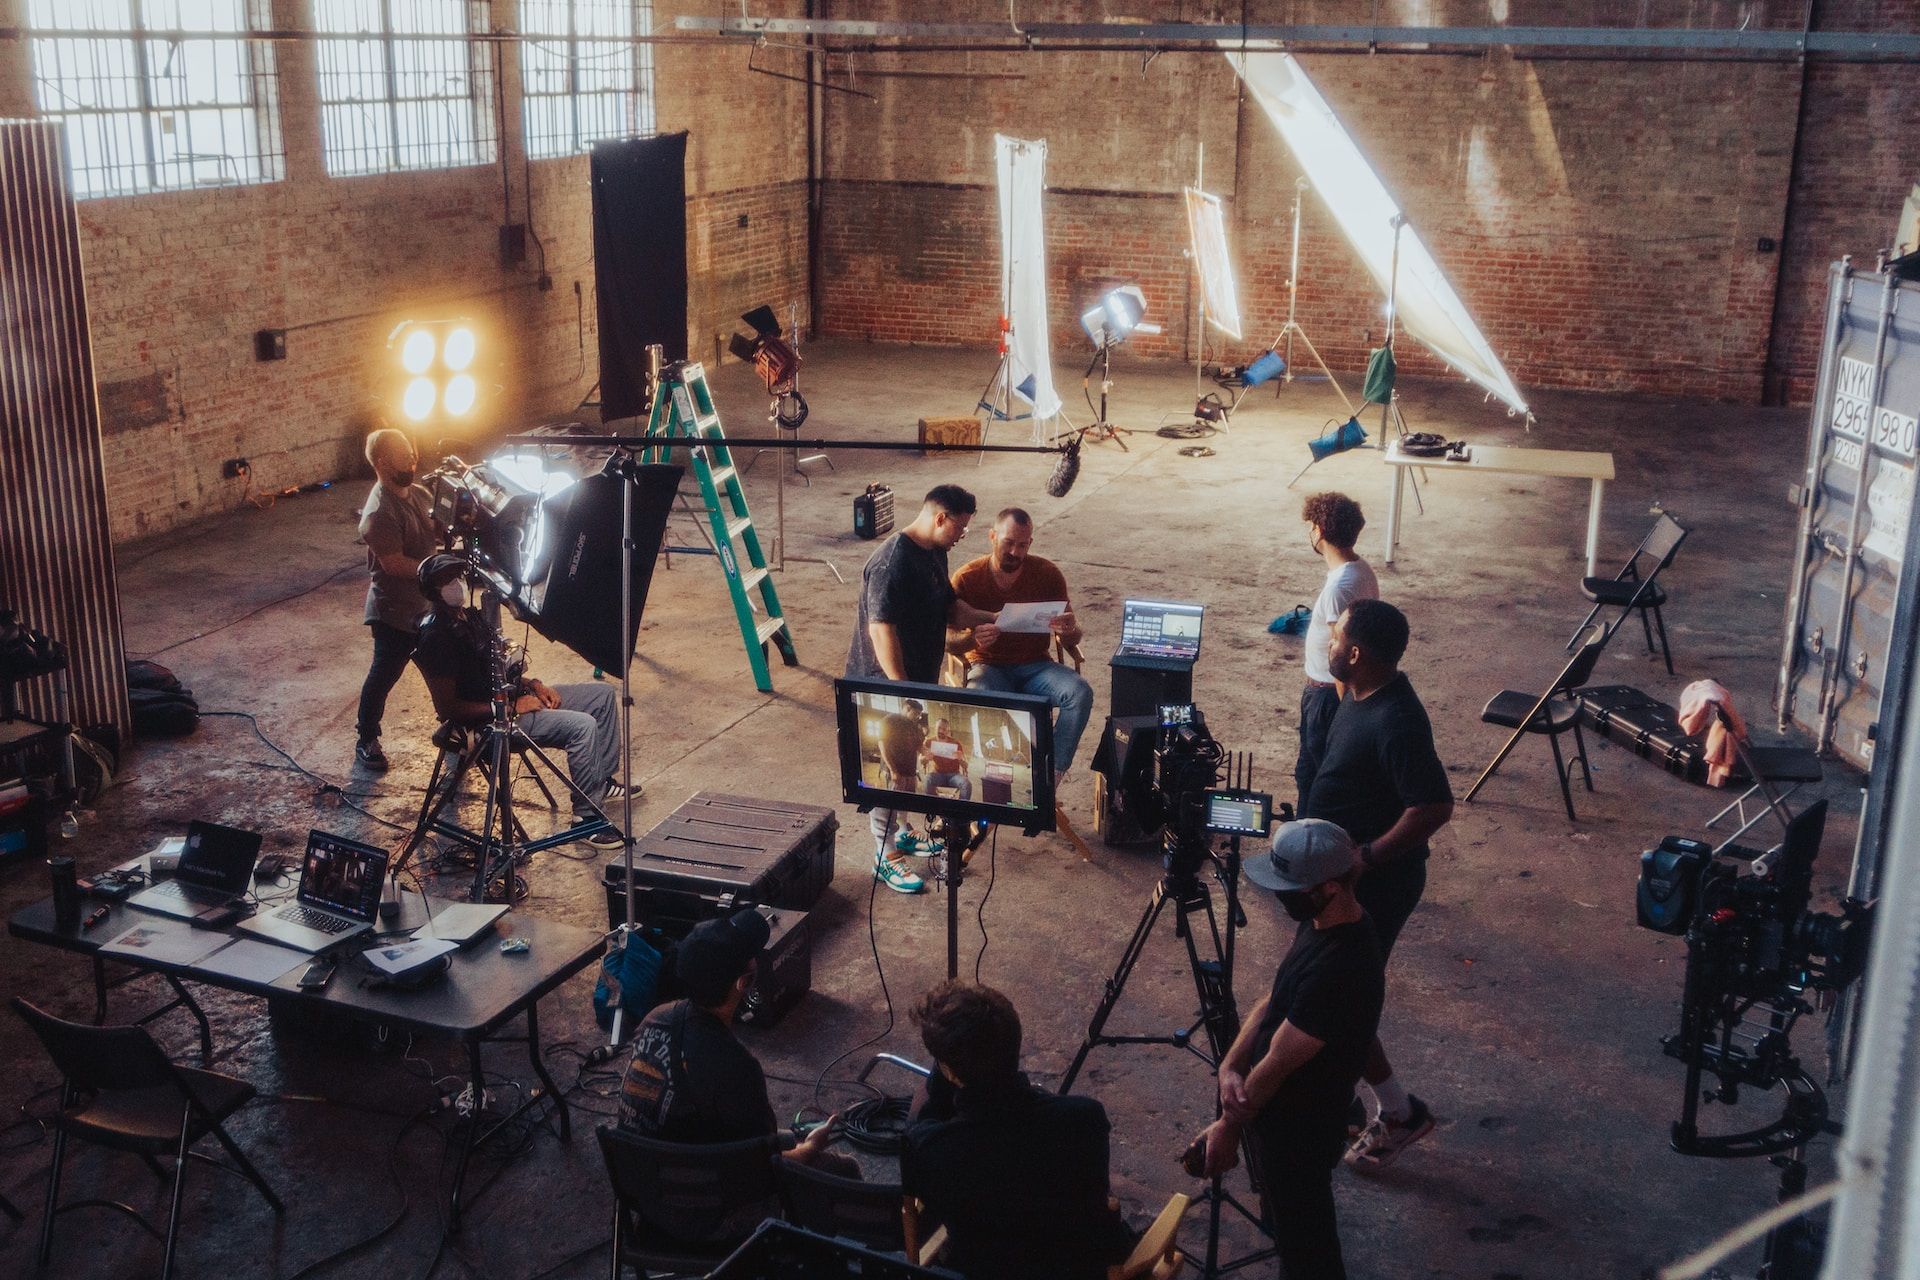

Before a business live stream, rehearse the complete route from the speaker to the viewer. Check access, sound, picture, captions, transitions and the recording. Give each unresolved issue an owner and decide who can delay or stop the broadcast.
Use these seven checks for a product demonstration, interview, staff update or live discussion. The checklist is a planning aid for your event team. It does not set a standard equipment package, streaming service or promised result.
1. Write a running order people can follow
List the opening, speakers, demonstrations, questions and closing in the order viewers will see them. For each segment, name the person on screen, the material to show and the cue that moves the programme forward.
Include the actions between segments: bring a guest on screen, share a slide, play a clip or return to the host. Mark any statement, product screen or demonstration that still needs approval. Rehearse with the approved version of each item.
2. Test the actual viewer access
Create a test event on the platform you intend to use. Check the account's ability to broadcast, the event's visibility and the viewing instructions before promoting it. Open the viewer link from an account with the same access your audience will have.
If you use YouTube, its encoder setup guide distinguishes creating a stream, connecting the encoder and starting the scheduled broadcast. First-time live-stream activation may take up to 24 hours. Check eligibility and setup before the event day.
Confirm the advertised date, time zone, joining link and contact for access problems. Keep production controls and stream credentials separate from the instructions sent to attendees.
3. Check the whole picture and sound path
Test with the equipment, connection and room you plan to use. Send the camera, microphone, slides and any prerecorded clips through the actual broadcast setup. Have someone watch and listen on a separate viewer device.
Ask that viewer to report what they can hear and read. Check a speaker's name, a detailed slide and a quiet line of dialogue. Listen for room noise, echo and changes in volume when you switch sources. Record each problem and test the correction through the same path.
Use the platform's current setup instructions for encoding and connection settings. Confirm that the tested configuration is saved and that the person operating it can find it.
4. Rehearse the changes, including a failed cue
Run the transitions that need coordination: a remote guest joining, a screen share starting, a clip ending and a host returning. Check that a shared screen shows the intended window and that its text is readable to the test viewer.
Agree on what the host should say if a guest disconnects or a demonstration is not ready. Choose a practical fallback for each critical segment, such as continuing with a prepared question or holding on an approved slide. Practise the hand signal or private message that tells the host what is happening.
5. Plan captions and check the words
Decide how viewers will receive captions and test that option during the rehearsal. Give the person responsible the speaker names, product names and specialist terms in advance. Have the test viewer check that captions appear and remain readable.
W3C's caption guidance explains that captions convey speech and meaningful non-speech audio. It also advises checking caption accuracy when a live recording becomes a published replay. Arrange that review before releasing the recording.
Ask attendees about access needs through the event's usual planning process. Record what the team has agreed to provide and who will test it.
6. Assign the host, operator and moderation decisions
Name who starts and ends the broadcast, who monitors the viewer experience and who handles audience questions. One person may cover several tasks in a small event; rehearse that arrangement to see whether they can actually manage the cues.
Decide which questions the host should take, how a moderator passes them across and who responds to technical messages. Keep a contact route available to the event team that does not depend on the public chat.
Before opening the event, name the person who makes the go-or-delay decision. Give them the unresolved issues from the rehearsal. Confirm who can stop the broadcast if material appears that was not approved for release.
7. Decide what happens to the recording
Confirm whether you need a recording, where it will be saved and who checks it. Test that a file can be opened and heard. Record any separate camera or audio files the team intends to retain.
Keep the live event and the public replay as separate release decisions. Check the recording for access problems, unintended screens, incomplete segments and caption errors. Confirm the intended use of speaker footage, music and slides with the people responsible for those materials.
If you want a shorter edit afterwards, list the intended versions and available files in the editing scope handoff. Use the metrics worksheet to choose a measure that matches the event's purpose.
Finish the rehearsal with a dated issue list: what failed, who will fix it and who will confirm the retest. Bring that list and the running order when you talk with a producer about the production work.
The original article was credited to Matthew Watts. This substantive revision was prepared and checked by Viva Media with AI assistance; it does not imply Matthew personally reviewed this revision.